

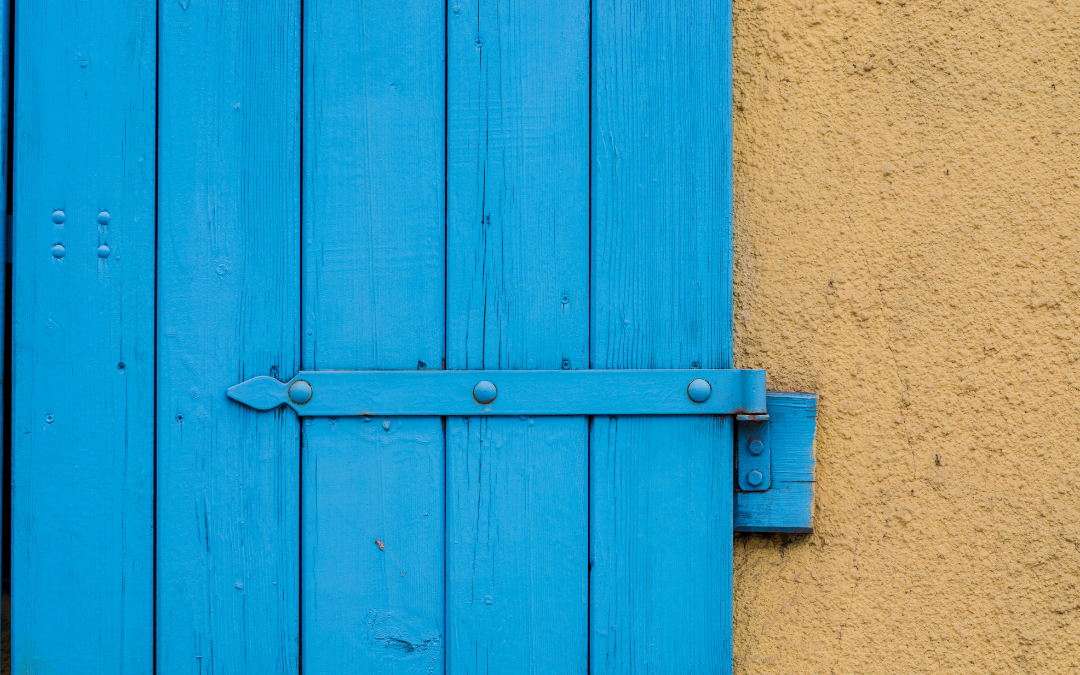
Most people reach for their phone when they spot a detail they do not want to forget: a hinge that looks unusual, trim with an interesting profile, or a screen door that has seen a few seasons. For a custom shutter or screen-door project, that instinct is a good one, provided the photos capture the broader context as well as the detail that first caught your eye.
Think of the camera as a project notebook. A useful set of photos shows where the opening sits, how its parts relate to one another, and anything that deserves a closer look. That gives a buyer, builder, dealer, architect, or preservation professional a clearer starting point for the conversation.
John Wright’s shutter-hardware guidance makes the same practical point: distant, straight-on pictures leave out too much. Close-ups, views from different angles, a tape measure in close detail, and a simple sketch can make an opening much easier to discuss.
Start wide so the opening has a place
 Begin with the complete opening and a little of the surrounding wall, porch, or room. Step back far enough to show how the shutter or door relates to nearby trim, siding, masonry, flooring, or adjacent windows.
This first view is not about staging the space. It is about context. Because hardware selection can depend on the window type, exterior material, molding style, and shutter dimensions, it helps to show the parts that meet at the opening rather than isolating a single piece.
Take one straight-on photo, then a view from each side. A medium-distance image can bridge the gap between the full scene and the details to come. Phifer’s practical advice to capture wide, medium, and close views from several angles was written for shade and screen installers, but the same progression is useful when documenting an opening for a project conversation.
Move closer to the places where parts meet
Once the whole opening is documented, work your way in. Photograph the hardware, trim or molding, the frame and sides of the opening, and any connection that may be hard to understand from a distance.
A few useful close-ups might include:
- Hinges, latches, pulls, stays, fasteners, or other visible hardware
- The profile and condition of trim or molding
- Corners and edges where the shutter, screen door, or opening meets its frame
- Thresholds, sills, tracks, or moving parts when they are visible
- Rips, holes, bent pieces, buildup, warping, worn sealant, or other visible damage
Do not try to diagnose what caused a condition from a photograph. The value is simply in showing it plainly. A screen and door maintenance guide points to visible conditions at screens, frames, sills, seals, hinges, and moving components that are worth noticing, but a picture is not a repair decision.
For close details, walk closer instead of relying on digital zoom. It is a small habit that usually produces a clearer image. Keep the phone reasonably level, wipe the lens, and take an extra angle when a detail is partly hidden by shadow or perspective.
Give scale and relationships a little help
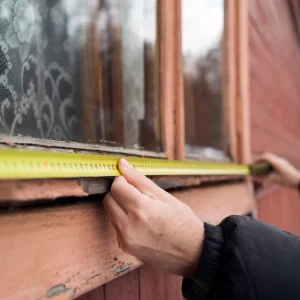 A tape measure in a close-up can give a viewer a useful sense of scale, especially beside hardware, molding, or a damaged area. It is a visual reference, not the project measurement itself. Record actual dimensions separately, carefully, and in a form everyone can refer back to.
Then make a quick sketch. It does not need to be pretty. A rectangle for the opening, a few notes on which side is which, and arrows showing where the photos were taken can answer questions that even good images leave unresolved. John Wright specifically recommends tape-measure close-ups and simple sketches when pictures are being used to clarify shutter-hardware questions.
Photos add context; they do not replace measurements or the verification a project may need. Treat them as a way to make the first discussion more informed, not as a final answer about fit, hardware, or condition.
Keep the record honest and easy to share
Natural light is often helpful, but there is no need to wait for a perfect photo session. Take enough pictures to see the details clearly and avoid heavy editing. The same photography guidance cautions that lighting and editing can make colors appear unnatural, so photographs should not be treated as dependable color records.
Before you share images beyond the project conversation, take a quick practical look for house numbers, family photos, documents, computer screens, or anything else you would rather keep out of view. If you hope to reuse a photo publicly, make sure the people involved are comfortable with that use.
A small, deliberate photo set can give a project conversation a clearer starting point. Show the whole opening, then the angles, connections, scale, and visible conditions that another person cannot inspect from across town. Add your recorded measurements and a rough sketch, and you will have a more useful record to bring into custom work.
Ready to talk through a custom shutter or screen-door project? Contact Cobblestone Millworks and share the context you have.